Getting Started
Install BoxCart on your WordPress site and have your first click & collect store up and running in under 10 minutes.
Requirements
| Requirement | Minimum Version |
|---|---|
| WordPress | 6.0 or higher |
| PHP | 7.4 or higher |
| MySQL / MariaDB | 5.7+ / 10.3+ |
Installation
-
Upload the plugin
In your WordPress admin, go to Plugins → Add New → Upload Plugin. Select the
boxcart.zipfile and click Install Now. -
Activate
Click Activate Plugin. BoxCart will automatically create its database tables and register necessary post types.
-
Navigate to BoxCart settings
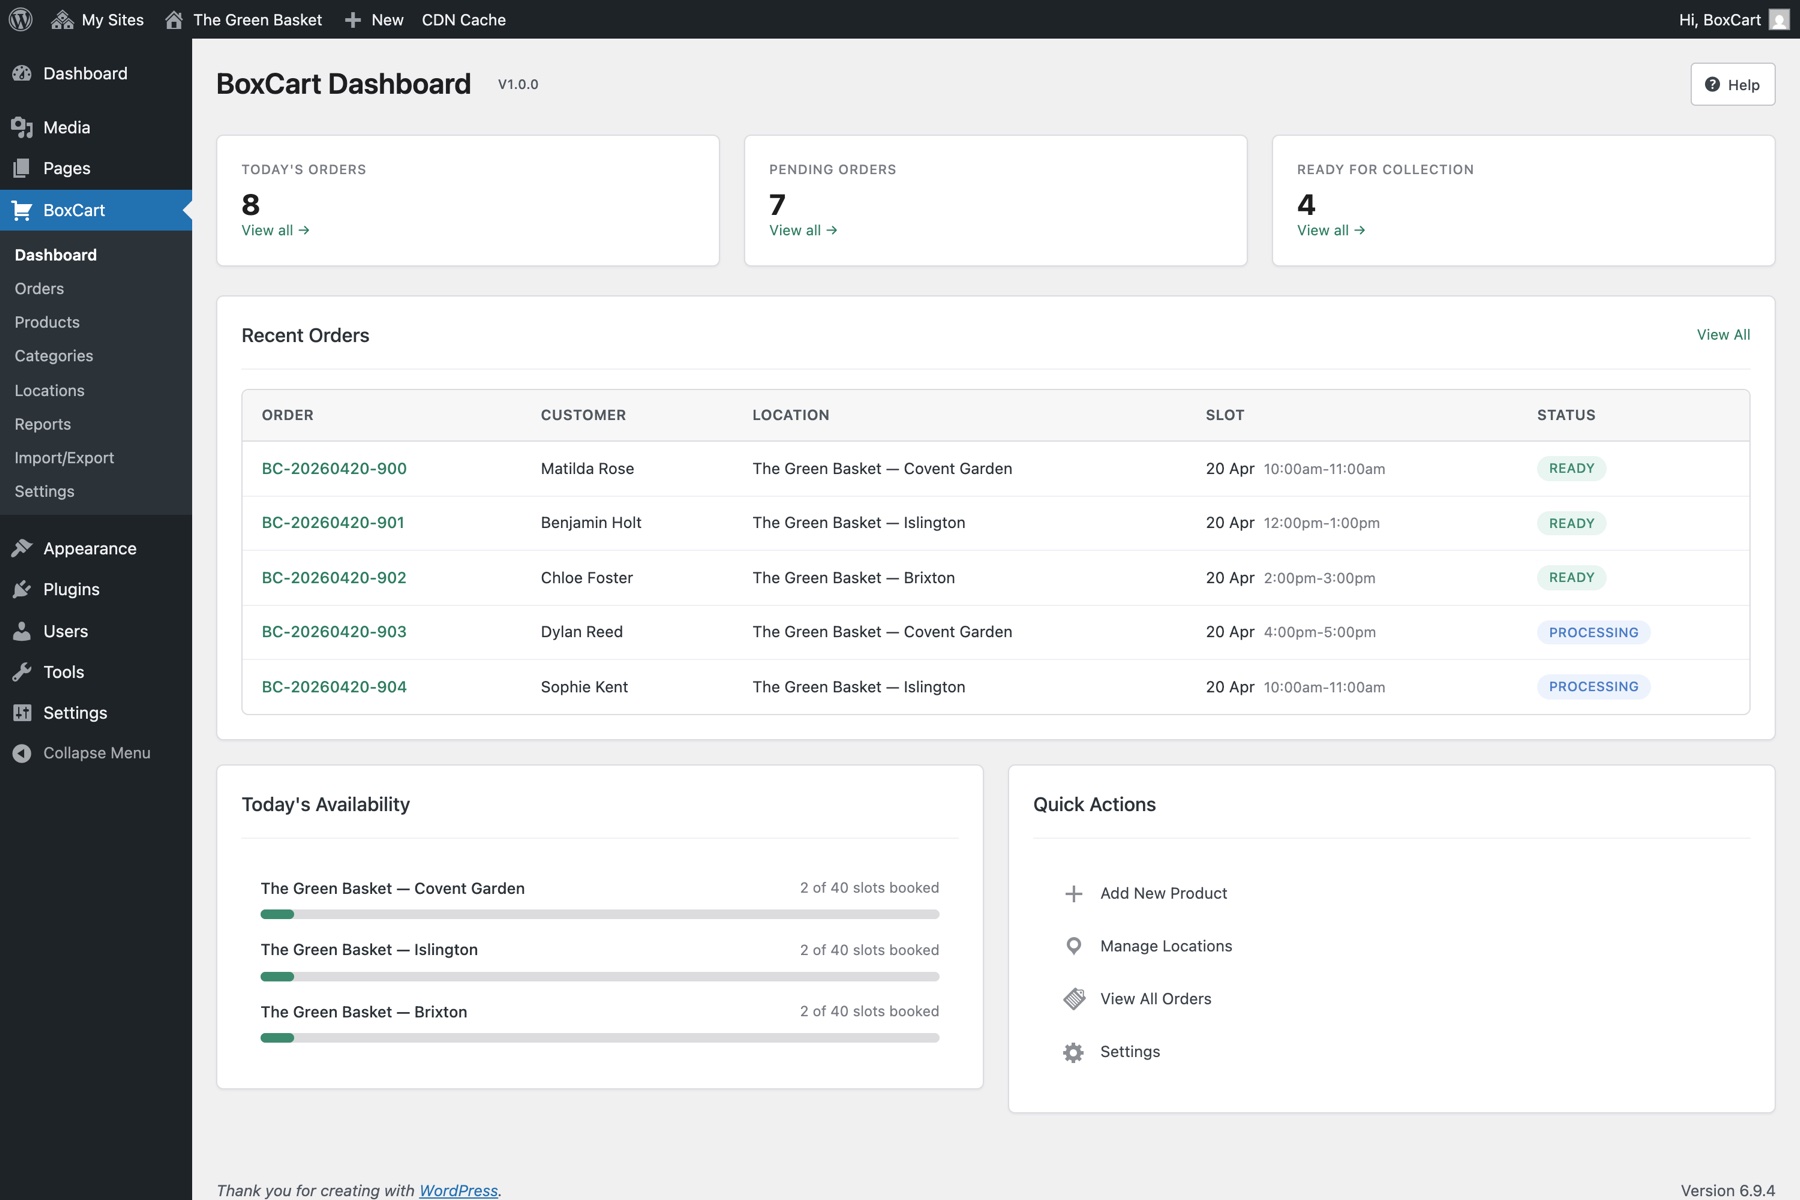
A new BoxCart menu item will appear in the WordPress admin sidebar. Click it to access the settings dashboard.
Quick Setup Walkthrough
Follow these steps to get your store running. Each step links to its detailed documentation page.
-
Create your pages
Fastest way (BoxCart 1.1 and later): go to BoxCart → Setup and click Create my pages. BoxCart builds the Shop, Basket, Checkout, and My Account pages, adds the right block to each, and assigns them in Settings for you. The manual steps below are only needed if you prefer to set the pages up yourself.
BoxCart needs three required WordPress pages — Products, Basket, and Checkout — plus an optional Account page if you want returning customers to be able to sign in. Create the pages and add the corresponding BoxCart shortcode or Gutenberg block to each:
- Products page: Add
[boxcart_products]or the BoxCart Products block - Basket page: Add
[boxcart_basket]or the BoxCart Basket block - Checkout page: Add
[boxcart_checkout]or the BoxCart Checkout block - Account page (optional): Add
[boxcart_account]or the BoxCart Account block. Skip this if you only want guest checkout — BoxCart works fully without it.
Then go to BoxCart → Settings → General and assign each page in the Page Setup section.

- Products page: Add
-
Add a collection location
Navigate to BoxCart → Locations and click Add Location. Enter the location name, address, and contact details. Then set up opening hours and create time slots for each day. See the Locations & Collection guide for full details.
-
Add your products
Go to BoxCart → Products and click Add Product. Enter a product name, price, optional SKU, and upload a featured image. Organise products into categories. See the Products guide for details on quantity types, stock management, and more.
-
Configure payments
Navigate to BoxCart → Settings → Payments. Enable at least one payment method:
- Cash on Collection — No setup required, just enable it
- Stripe — Enter your API keys (test mode recommended initially)
- Bank Transfer — Enter your account details
See the Payments guide for detailed Stripe setup instructions.
-
Place a test order
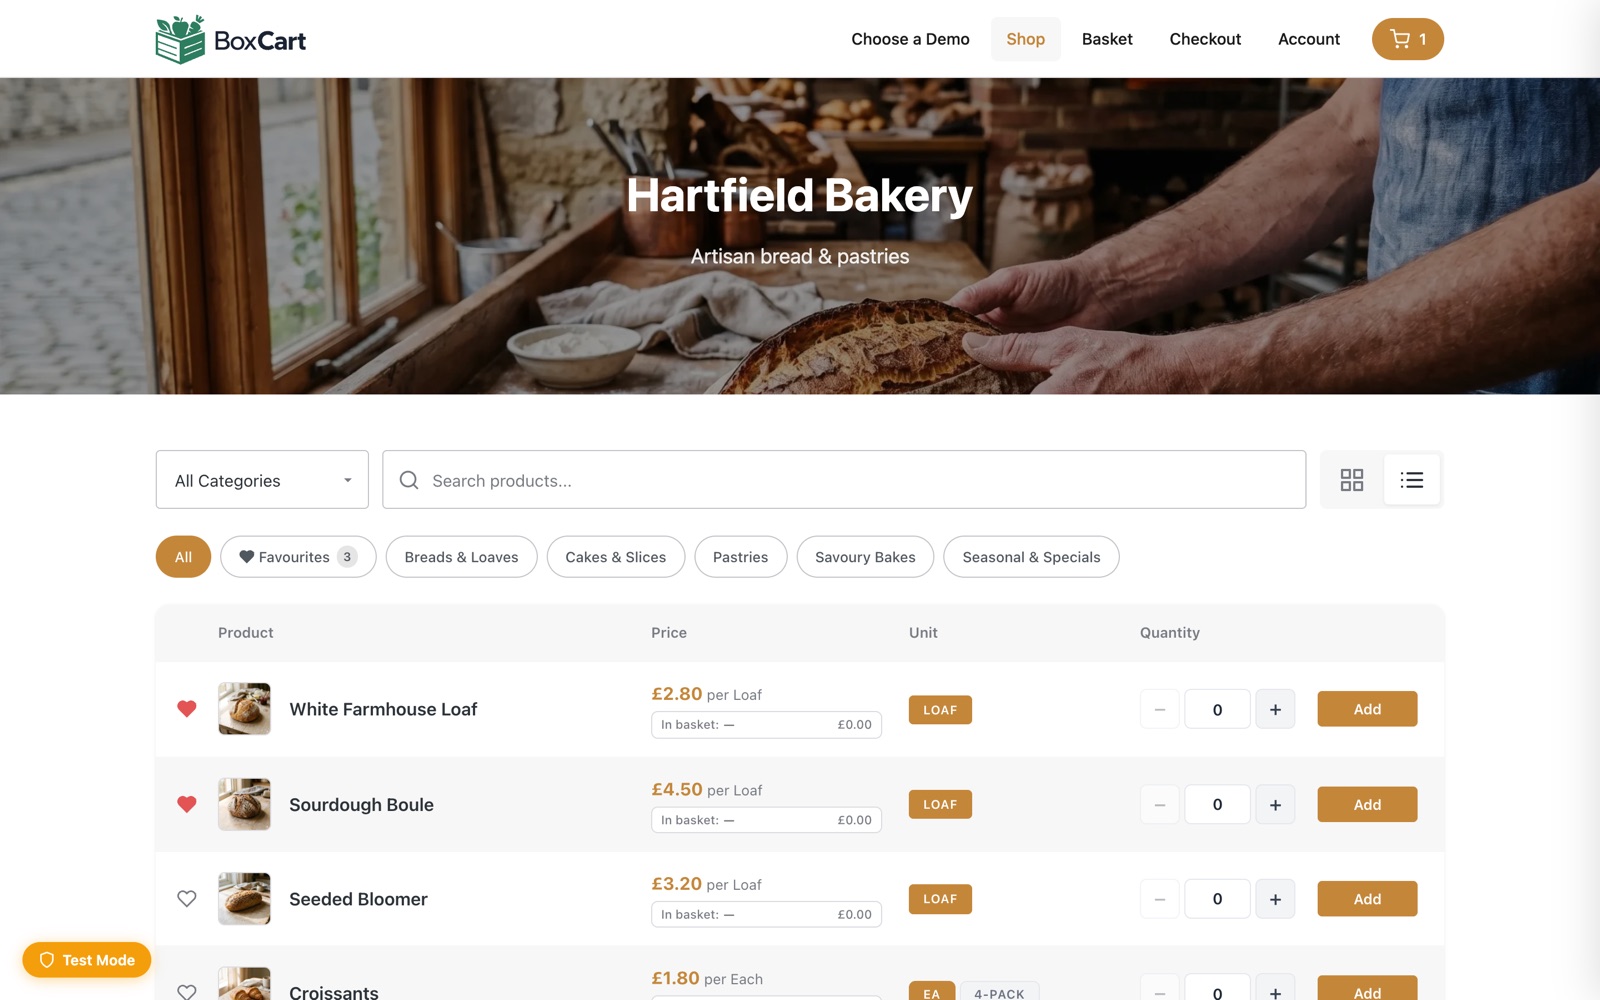
Visit your Products page on the frontend, add items to the basket, proceed through checkout, and place a test order. Verify that:
- Products display correctly in card or table view
- The basket updates as you add items
- Collection slot selection works
- The order appears in BoxCart → Orders
- Confirmation and admin notification emails are sent
If you're using Stripe, start in test mode and use Stripe's test card numbers to verify everything works before switching to live keys.
General Settings
The General tab in BoxCart → Settings contains your core business configuration:
| Setting | Description |
|---|---|
| Currency | Symbol (e.g. £), position (before/after), and decimal places |
| Tax | Enable/disable tax, set the rate, choose inclusive or exclusive display, and customise the label (e.g. VAT, GST) |
| Stock Management | Simple (in stock / out of stock) or disabled. Optionally hide out-of-stock products entirely |
| Order Numbering | Configurable format with prefix (e.g. "BC"), date format (Ymd, Ym, or Y), zero-padding (number of digits), separator character, and starting number. The default format produces numbers like "BC-20260315-001" |
| Terms & Conditions | Select a page — customers must accept before placing an order |
Adding the Mini Basket
The mini basket is a compact basket button that you can place in your site header or navigation. Clicking it opens the sidecart panel.
Add the mini basket using the shortcode:
[boxcart_mini_basket]
Or use the BoxCart Mini Basket Gutenberg block in the block editor.
The mini basket supports three display styles via the style attribute:
icon-count— Cart icon with item count badge (default)icon-text— Cart icon with total pricetext-only— Text-only display
Next Steps
- Products — Categories, quantity types, stock management
- Locations & Collection — Multi-location setup, time slots, closures
- Payments — Stripe setup, webhooks, troubleshooting
- Styling & Customisation — Colours, fonts, layout options
- Emails — Customise email templates and branding